

Managing one or two Google Business Profiles by hand is no big deal. But once you’re handling dozens, or hundreds, of locations for clients, clicking through dashboards stops being practical. That’s where the Google Business Profile API documentation becomes essential, giving developers and agencies programmatic control over listing data at scale.
At Avatar Website Design, we build websites for small businesses that are optimized for local search. A well-designed site paired with a properly managed Google Business Profile is one of the most effective ways to attract local customers. We’ve spent time working with the API so our clients don’t have to, and this guide reflects what we’ve learned through that process.
This article walks you through everything you need to get started with the Google Business Profile API: access requirements, project setup in Google Cloud Console, authentication, and the key endpoints you’ll actually use. Whether you’re a developer building tools for an agency or a technically inclined business owner looking to automate profile management, you’ll leave with a clear path from documentation to implementation.
What the Business Profile APIs cover
The Google Business Profile API isn’t a single endpoint. Google splits the functionality across a suite of separate APIs, each designed for a specific area of profile management. Understanding which API handles what before you write a single line of code will save you a lot of debugging time. The official Google Business Profile API documentation organizes these services under a unified developer console, but each API requires its own enablement and carries its own quota rules.
The core APIs in the suite
Google provides several distinct APIs under the Business Profile umbrella. Here’s what each one handles:
| API Name | What It Controls |
|---|---|
| Business Information API | Business name, address, phone, hours, categories, attributes |
| Account Management API | Account creation, location groups, admin access |
| Reviews API | Reading and replying to customer reviews |
| Q&A API | Reading and responding to questions on listings |
| Verifications API | Triggering and completing location verification |
| Notifications API | Subscribing to push notifications for profile changes |
| Place Actions API | Booking links and action buttons on listings |
| Lodging API | Hospitality-specific attributes for hotels |
Most agencies and developers focus on the Business Information, Reviews, and Account Management APIs when building automated workflows. These three cover the operations that come up most often at scale. The others serve more specialized use cases, but all of them run through the same access request process and share the same base URL structure.
What you can read and write
Each API supports a mix of read and write operations, and knowing which operations require which permission scopes upfront will shape how you configure your OAuth consent screen. The Business Information API lets you read and update core location data like business hours, service areas, and special holiday hours. You can pull structured data for dozens of locations in a single batch call, compare it against your internal records, and push updates automatically without opening the dashboard once.
You can automate review responses at scale using the Reviews API, but Google still requires that replies follow its content policies, so build in response validation before you send a POST request.
The Account Management API handles the relationship between Google accounts and location groups, which matters if you’re managing profiles on behalf of multiple clients under a single agency account. It lets you list locations, move them between groups, and control which Google accounts hold admin access for each property.
What the APIs don’t cover
The API suite is capable, but it has real gaps. Google Posts are no longer supported through the API as of 2023, and photo uploads carry specific restrictions depending on the media category and location type. Insights data, meaning the performance metrics visible in the Business Profile dashboard, are also unavailable through the current public API.
Knowing these limitations before you start building prevents you from committing to features the API simply cannot deliver. If photo management or post scheduling is central to your workflow, you’ll need to handle those tasks manually through the Business Profile Manager interface at business.google.com. Where the API earns its value is in bulk data management, reviews handling, verification triggers, and account-level administration at volume.
Prerequisites and who can get access
Before you touch the Google Business Profile API documentation or write a single line of code, confirm that your account and setup meet Google’s specific requirements. Google gates access to the Business Profile APIs more tightly than most of its other developer products, so understanding the prerequisites upfront prevents wasted setup time. The access request process involves a manual review step, which means missing a requirement early can delay your project by days or weeks. Treat this section as your checklist before you open a single browser tab for the setup process.
Who qualifies for access
Google does not open the Business Profile APIs to every developer with a Google account. Access is limited to accounts that own or manage at least one verified Business Profile location on Google. A brand-new Google account with no associated listings cannot request API access, regardless of how the Cloud project is configured. Agencies managing locations on behalf of clients qualify, provided the agency account holds an admin or owner role on at least one verified listing before applying. Individual business owners with a confirmed verified profile can also apply directly without going through a third party.
If your account only has unverified locations, complete the Business Profile verification process at business.google.com before you submit an API access request.
What you need before you apply
Having the right items ready before you submit the request form speeds up the review significantly. Here is a checklist of the hard requirements:
- A Google account with owner or manager access to at least one verified Business Profile location
- A Google Cloud project, or a clear plan to create one, where you will enable the APIs
- A specific, detailed use case description explaining what you are building and how many locations you plan to manage
- Agreement to Google’s API Terms of Service and the Business Profile API Additional Terms
Your use case description carries more weight than most developers expect. Google reviews access requests manually, and vague explanations lead to delays or rejection. Rather than writing "managing business data," write something specific, such as: "Automating business hours updates and review responses across 75 verified client locations for a digital marketing agency." That level of detail gives reviewers a clear picture of a legitimate workflow and significantly improves your approval odds on the first submission.
Step 1. Request API access and verify accounts
Google requires you to submit a formal access request before you can call any Business Profile API endpoint. This step is separate from creating a Cloud project or enabling APIs in the console. You go through a manual review process, which means your request sits in a queue until a Google team member evaluates your use case. Budget at least five to seven business days for this review, though approval can come sooner if your submission is clear and complete.
Navigate to the access request form
You submit your access request through the Google Business Profile API documentation page at developers.google.com/my-business. On that page, locate the "Request access" link under the Getting Started section. Clicking it opens a Google Form tied to your Google account, so sign in with the account that already holds owner or manager access on your verified Business Profile locations before you open the form. If you submit the form while signed into the wrong account, Google reviews access for that account, not the one managing your actual listings.
Sign into the correct Google account before opening the request form. Switching accounts after submission requires you to submit a second request, which delays your timeline.
Complete the request form accurately
The form asks for your name, email, company name, and a description of your intended use case. Your use case description is the section that most directly determines approval, so write it with specifics. Include the approximate number of locations you plan to manage, the operations you intend to automate, and the type of organization you represent. Avoid vague language like "managing business information." A precise statement such as "Reading and updating business hours and review responses for 60 verified SMB client locations at a web design agency" gives the reviewer enough context to approve quickly.
After submitting, you receive a confirmation email at the address tied to your Google account. Monitor that inbox for a follow-up from Google requesting additional information, since ignoring a clarification request resets your place in the review queue. Once approved, Google emails confirmation and your account becomes eligible to enable Business Profile APIs inside Google Cloud Console. Keep that confirmation email, as it serves as your record if access questions arise later.
Step 2. Create a Google Cloud project
Once Google approves your access request, your next move is setting up a Google Cloud project. This project acts as the container for all your API credentials, billing configuration, and quota tracking. Every API call you make ties back to this project, so creating it correctly from the start keeps your setup clean and avoids permission issues later. Head to console.cloud.google.com and sign in with the same Google account you used to submit the API access request.
Create a new project in the console
From the Google Cloud Console home screen, click the project selector dropdown at the top of the page, then click "New Project." Google presents a simple form with two required fields. Fill them in as follows:
- Project name: Use something descriptive that connects to your use case, such as "GBP API Management" or "Agency Listings Tool." Google allows you to change this later, but a clear name makes the project easier to identify if your Cloud Console account grows.
- Organization: If you operate under a Google Workspace account, select your organization from the dropdown. If you use a personal Google account, leave this set to "No organization."
- Billing account: Link a billing account before proceeding. The Business Profile APIs fall under Google’s free usage tiers for most standard operations, but Google requires a billing account to activate any API, even if your actual charges stay at zero.
Link your billing account during project creation rather than after. Skipping this step blocks API enablement in the next step and forces you to return to the billing settings before continuing.
Click "Create" and wait for the console to provision your project. This typically takes under 30 seconds.
Record your project ID
After Google creates the project, the console displays your project ID in the project details panel. This ID is distinct from the project name and follows a lowercase format with hyphens, such as gbp-api-management-123456. Your project ID appears in API requests, gcloud CLI commands, and OAuth credential configurations throughout the Google Business Profile API documentation setup process.
Copy your project ID to a text file or internal document immediately. You will reference it repeatedly in the steps that follow, and retrieving it later means navigating back through the console each time.
Step 3. Enable the Business Profile APIs
With your Cloud project created, you now need to enable each Business Profile API individually inside the Google Cloud Console. Google does not activate APIs by default, even after your access request is approved. Until you enable them explicitly, your credentials have nothing to connect to, and every API call returns a permission error. This step is where the google business profile api documentation and your Cloud project start working together as a functional setup.
Navigate to the API Library
From your Google Cloud Console dashboard at console.cloud.google.com, confirm that your newly created project is selected in the top project dropdown. This is the most common mistake at this stage: developers enable APIs under the wrong project, then wonder why their credentials fail. Once you confirm the active project, open the left sidebar and click "APIs & Services," then select "Library" from the submenu. The Library is a searchable catalog of every API Google offers through Cloud Console.
Double-check the project name shown in the top navigation bar before enabling anything. Enabling an API under the wrong project means repeating this entire step.
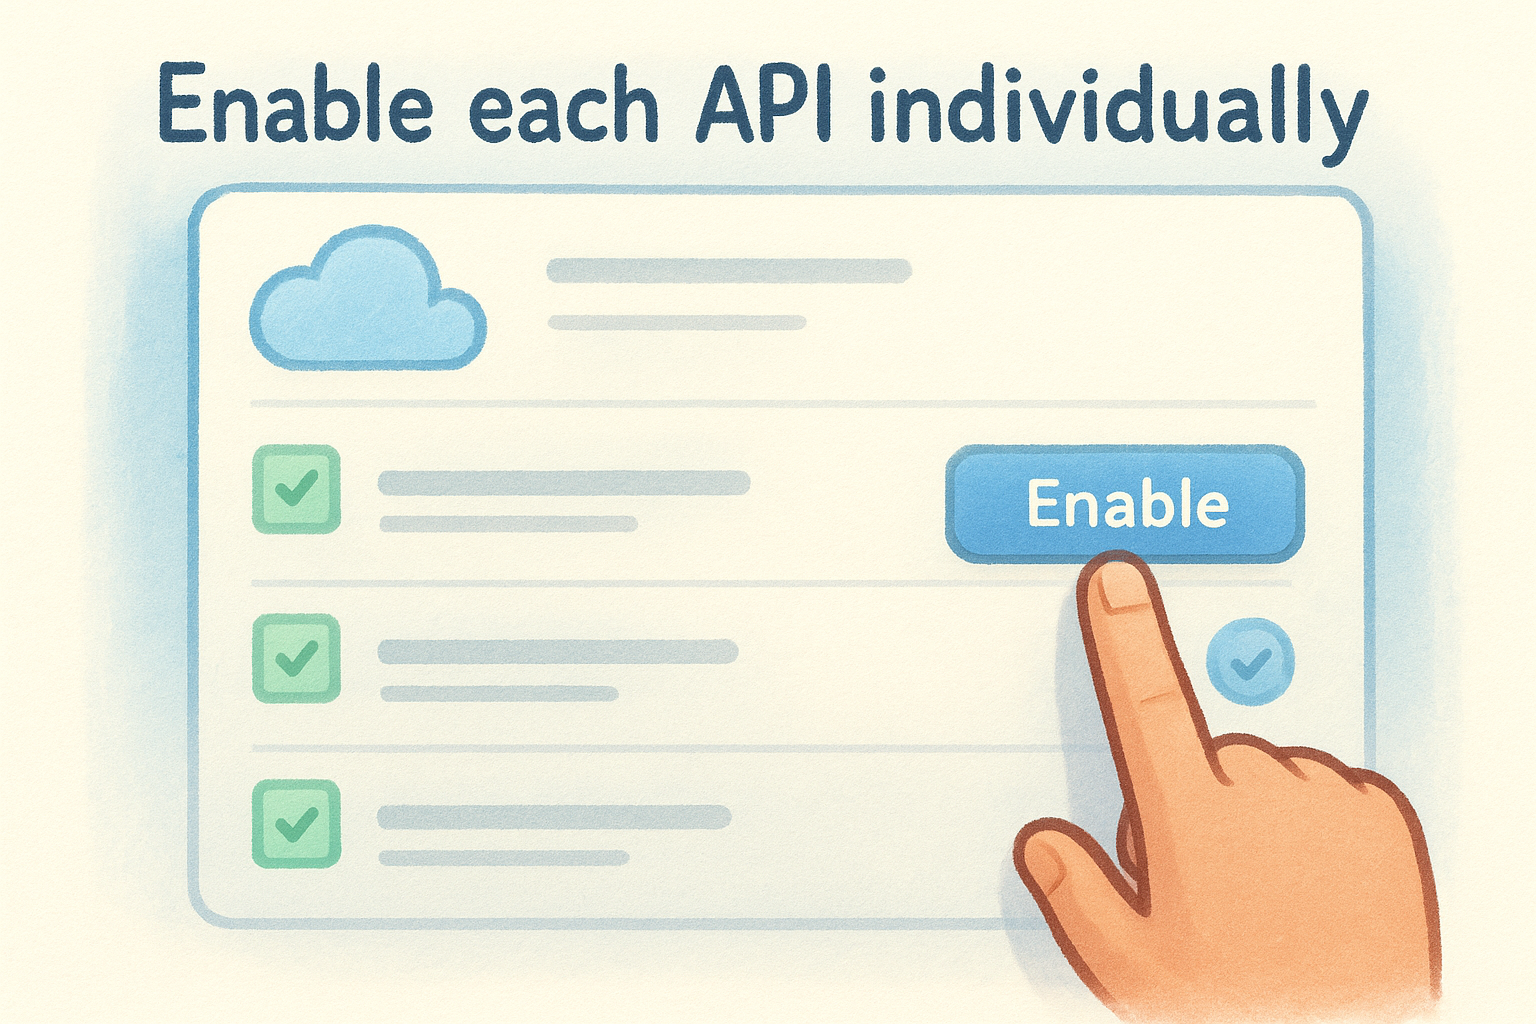
Enable each API individually
The Business Profile suite does not appear as a single item in the Library. You need to search for and enable each API separately using its exact name. Use the search bar in the Library to find each of the following, then click the result and press "Enable" on its detail page:
- My Business Account Management API
- My Business Business Information API
- My Business Reviews API
- My Business Verifications API
- My Business Notifications API
- My Business Place Actions API
- My Business Q&A API
- My Business Lodging API
Enable only the APIs that your use case actually requires. If you are building a review management tool, you need the Account Management API and the Reviews API at minimum. Enabling unnecessary APIs does not break anything, but it clutters your project and adds confusion if you need to audit permissions later.
Confirm activation status
After enabling each API, the detail page switches from an "Enable" button to a "Manage" button with an active status indicator. Click "Manage" on each API you enabled and verify that the status reads "Enabled" before moving on. Your API quota dashboard also becomes visible from this page, which is useful later when you need to track request usage against daily limits.
Step 4. Set up OAuth and credentials
The Business Profile APIs use OAuth 2.0 for authentication, which means every API request you send must carry a valid access token. Google does not support API key authentication for Business Profile endpoints the way it does for simpler services like Maps. Before you make your first call, you need to configure an OAuth consent screen, create a client ID, and generate credentials your application can use to obtain tokens on behalf of authorized Google accounts.
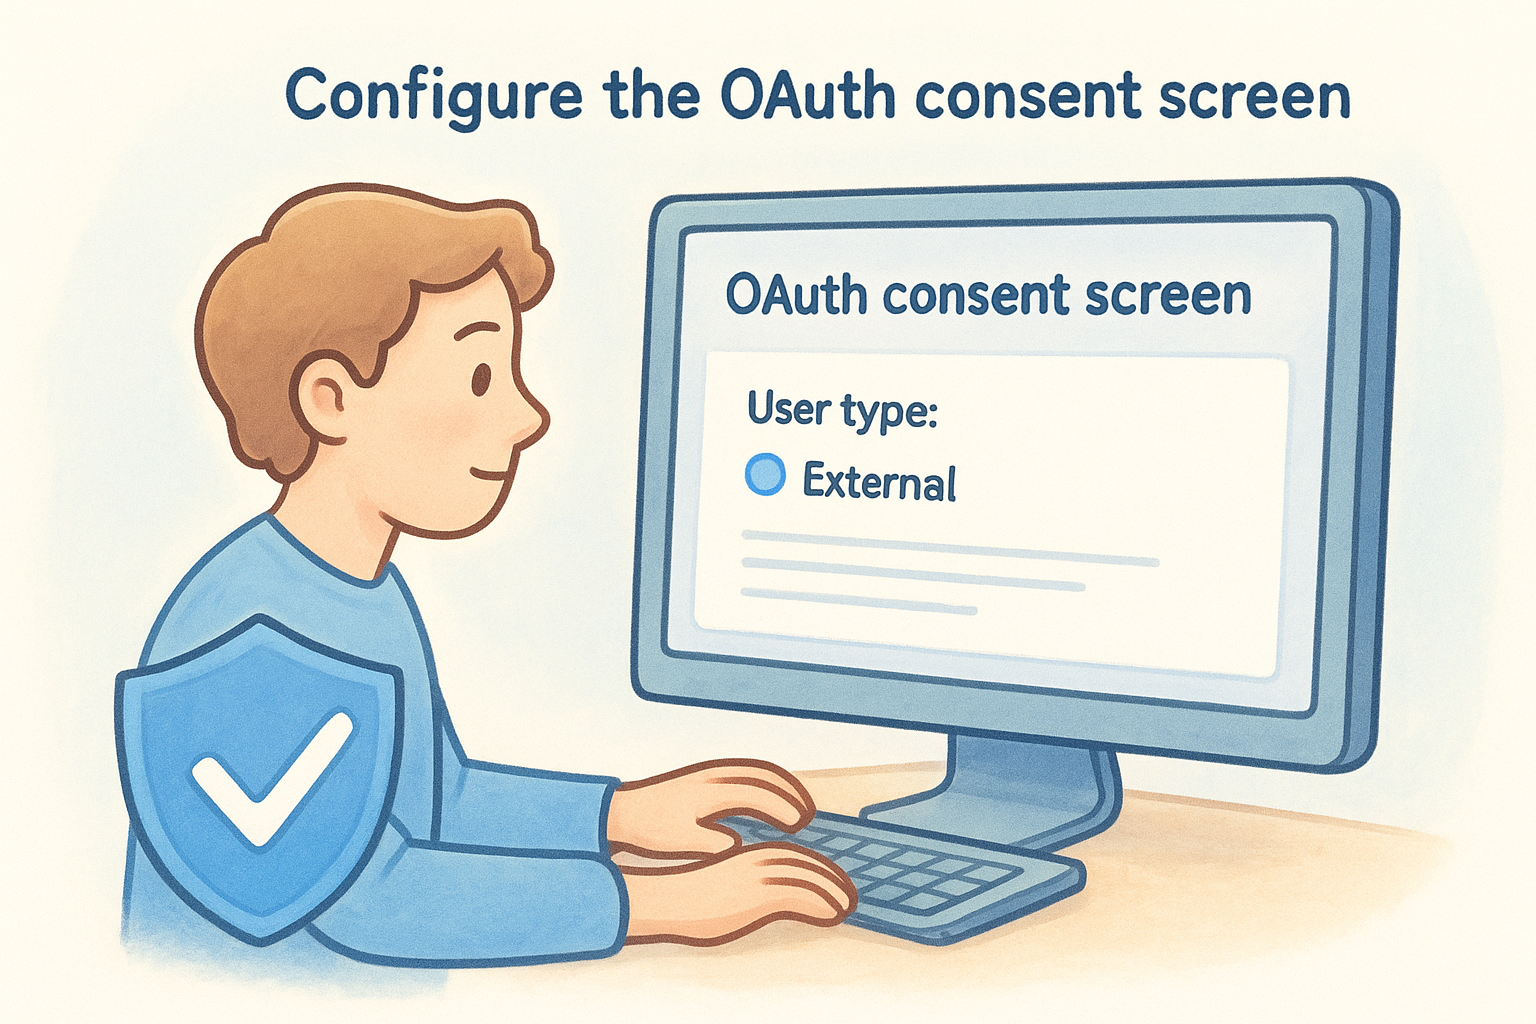
Configure the OAuth consent screen
From your Cloud Console project, open "APIs & Services" in the left sidebar and select "OAuth consent screen." Google asks you to choose a user type. Select "External" unless you operate under a Google Workspace organization that restricts access to internal users only. Fill in the required app information fields: app name, user support email, and developer contact email. The app name your users see during the authorization flow should reflect your tool or agency name clearly. Under "Scopes," click "Add or remove scopes" and add the following scope that covers the Business Profile API suite:
https://www.googleapis.com/auth/business.manage
Save the consent screen configuration before moving on.
Keep your consent screen in "Testing" mode during development. In testing mode, only explicitly added test users can authorize your app, which prevents unintended access while you build and debug.
Create an OAuth 2.0 client ID
Still inside "APIs & Services," click "Credentials" in the left navigation, then click "Create Credentials" at the top and choose "OAuth client ID." Select your application type. For server-side scripts and agency tools running on a backend, choose "Web application." For locally executed scripts or command-line tools, choose "Desktop app." After selecting your type, add your authorized redirect URI. For local development, use:
http://localhost:8080/oauth2callback
For production deployments, replace this with your actual callback URL. Click "Create" and Google displays your client ID and client secret. Download the JSON file immediately using the download button on the confirmation dialog.
Store and use your credentials securely
Save the downloaded JSON file in a location your application can read at runtime. Never commit this file to a public repository. Reference it in your code using an environment variable pointing to the file path:
import os
os.environ["GOOGLE_APPLICATION_CREDENTIALS"] = "/path/to/client_secret.json"
The google business profile api documentation recommends using a credentials library like Google Auth for Python or the Google APIs Client Library for your language of choice to handle token refresh automatically, so your application does not lose access mid-session when tokens expire.
Step 5. Make your first API request
With your credentials configured, you are ready to make a live call against the API. Your first request should be simple and read-only. Calling the accounts list endpoint confirms that your authentication is working and your approved access is active before you attempt any write operations that modify real listing data.
Authenticate and get an access token
Your application needs a valid access token before it can call any endpoint. The Google Auth library for Python handles this automatically using the client secret JSON file you downloaded in the previous step. Install the required packages first:
pip install google-auth google-auth-oauthlib google-auth-httplib2 google-api-python-client
Then run the authorization flow to generate and store credentials locally:
from google_auth_oauthlib.flow import InstalledAppFlow

SCOPES = ["https://www.googleapis.com/auth/business.manage"]

flow = InstalledAppFlow.from_client_secrets_file(
    "client_secret.json", SCOPES
)
credentials = flow.run_local_server(port=8080)

# Save credentials to reuse without re-authorizing
import pickle
with open("token.pickle", "wb") as token_file:
    pickle.dump(credentials, token_file)
Running this script opens a browser window asking the authorized Google account to approve access. Complete that flow and the script saves a token file your subsequent requests use automatically without prompting again.
Load credentials from the saved token file on every subsequent run rather than re-running the authorization flow, since repeatedly prompting for authorization disrupts any automated pipeline you build.
Call the accounts.list endpoint
Once you hold valid credentials, make your first API call by requesting the list of Business Profile accounts tied to the authorized Google account. The google business profile api documentation uses mybusinessaccountmanagement.googleapis.com as the base domain for account-level calls:
import pickle
from googleapiclient.discovery import build

with open("token.pickle", "rb") as token_file:
    credentials = pickle.load(token_file)

service = build(
    "mybusinessaccountmanagement",
    "v1",
    credentials=credentials
)

response = service.accounts().list().execute()

for account in response.get("accounts", []):
    print(account["name"], account["accountName"])
A successful response prints the account resource name and display name for each Business Profile account the authorized user can access. If you see data, your entire setup is working correctly. From this point, you can reference specific account names to query locations, pull reviews, or push updates using the endpoints covered in the next section.
Common endpoints, limits, and pitfalls
Once your first accounts list call works, you will start building toward more complex operations. The google business profile api documentation organizes endpoints by API service, and knowing the most frequently used ones before you need them lets you build faster and debug with confidence.
Endpoints you’ll use most often
The endpoints below cover the majority of what agencies and developers actually call in production. Each uses v1 as the current version, and all requests require the business.manage OAuth scope you configured earlier.
| Operation | HTTP Method | Endpoint |
|---|---|---|
| List accounts | GET | mybusinessaccountmanagement.googleapis.com/v1/accounts |
| List locations | GET | mybusinessbusinessinformation.googleapis.com/v1/{account}/locations |
| Get a single location | GET | mybusinessbusinessinformation.googleapis.com/v1/{locationName} |
| Update location data | PATCH | mybusinessbusinessinformation.googleapis.com/v1/{locationName} |
| List reviews | GET | mybusiness.googleapis.com/v4/{locationName}/reviews |
| Reply to a review | PUT | mybusiness.googleapis.com/v4/{locationName}/reviews/{reviewId}/reply |
Replace {account} and {locationName} with the resource names returned from your accounts.list and locations.list calls. These resource names follow the format accounts/123456789 and locations/987654321, and you use them as path parameters in every subsequent request.
Rate limits and quota rules
Google enforces per-minute and per-day quotas on Business Profile API calls, and hitting those limits returns a 429 RESOURCE_EXHAUSTED error that stops your pipeline cold. By default, most endpoints allow up to 600 requests per minute per project. The daily cap varies by endpoint, so check the quota dashboard in Cloud Console under "APIs & Services" for your specific limits.
Build exponential backoff into your request logic from the start. When you receive a 429, wait, then retry with increasing delays rather than hammering the endpoint again immediately.
Pitfalls that slow down most developers
Several recurring problems cost developers significant time when they first work with this API. Knowing them upfront lets you skip the debugging cycles that eat up hours with no clear error message pointing you in the right direction.
- Wrong base domain per API: The Account Management API uses
mybusinessaccountmanagement.googleapis.comwhile the Business Information API usesmybusinessbusinessinformation.googleapis.com. Mixing these returns a 404, not an authentication error, which makes the source of the problem less obvious. - Missing
readMaskparameter: PATCH requests and some GET requests require areadMaskorupdateMaskfield specifying which fields you intend to read or modify. Omitting this parameter causes the request to fail with a 400 error even when your credentials and endpoint are both correct. - Stale tokens in automated pipelines: Access tokens expire after one hour. If your pipeline runs longer than that without refreshing, all calls after the one-hour mark fail silently unless you implement token refresh handling through the Google Auth library.
Quick recap and next move
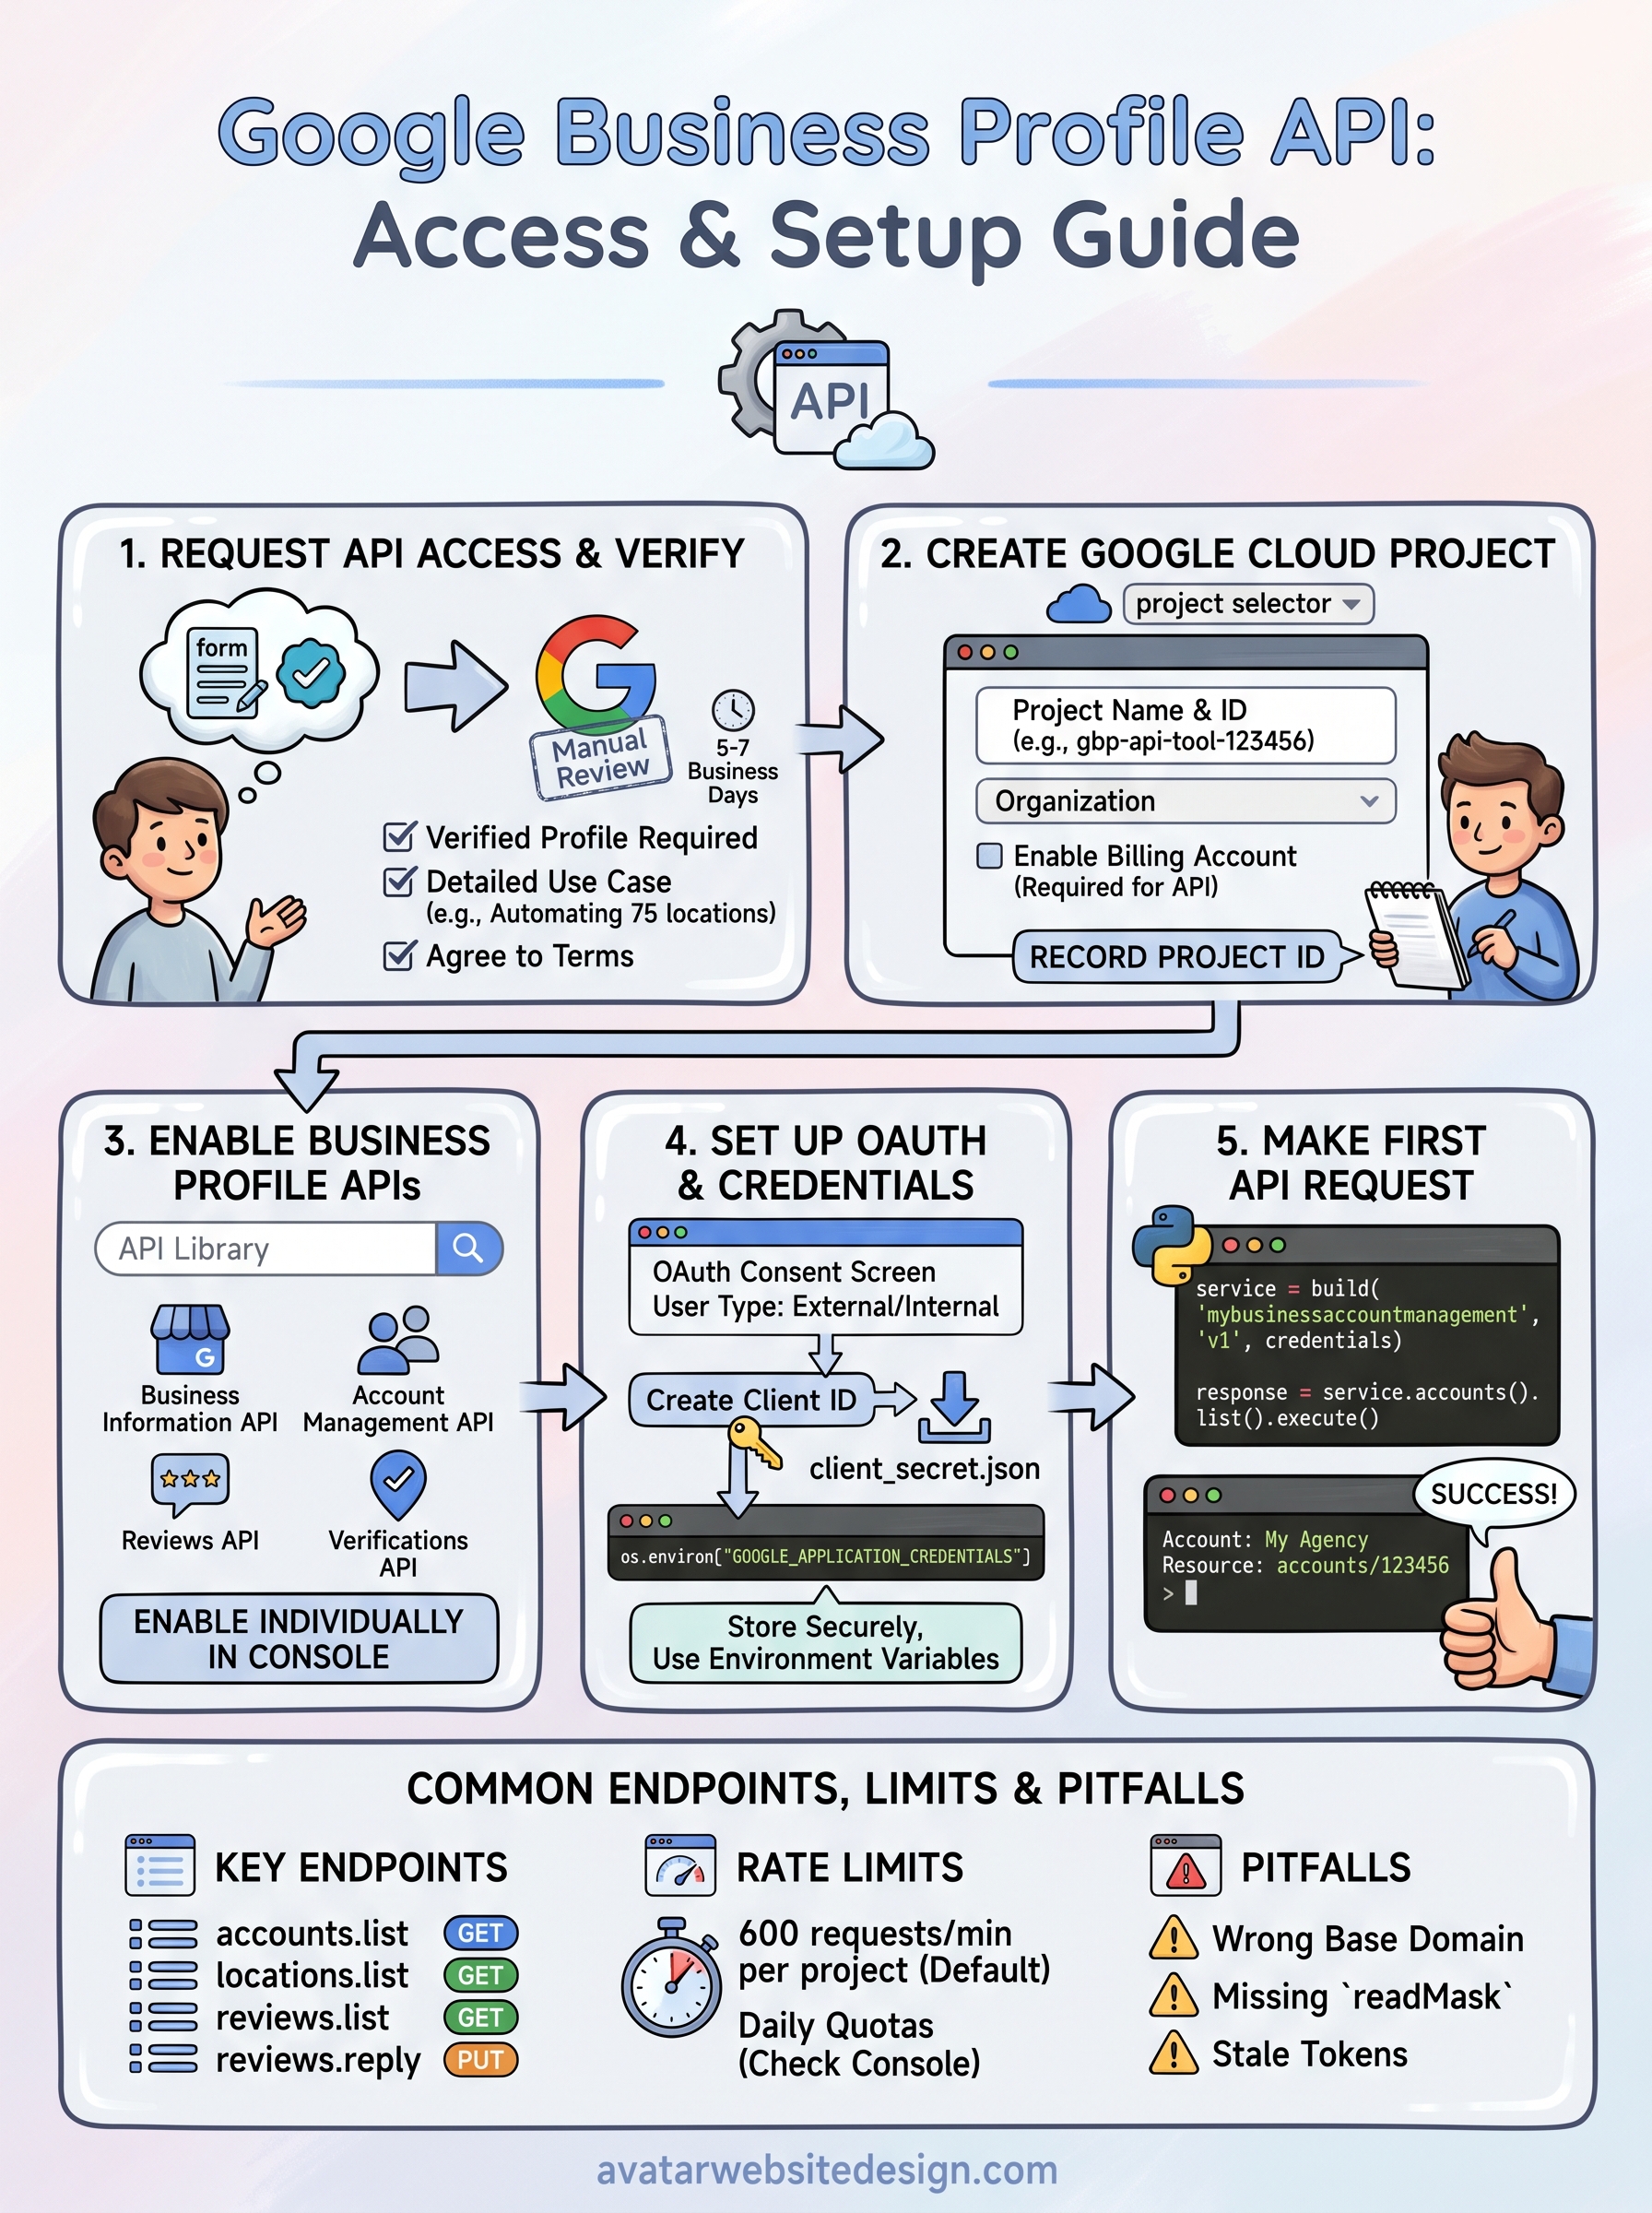
You now have a complete path through the Google Business Profile API documentation: from understanding which APIs handle which operations, through access request submission, Cloud project setup, OAuth configuration, and your first live call. Each step builds directly on the one before it, so skipping ahead tends to create permission errors and authentication failures that take longer to fix than the steps themselves.
Your next practical move is testing the locations.list endpoint against a real account and reviewing the quota limits in your Cloud Console dashboard before you build anything automated. Knowing your rate limits before you hit them prevents pipeline failures at the worst possible moment. If you want a local search strategy that combines a well-managed Business Profile with a professionally built website, Avatar Website Design helps small businesses get both pieces working together to attract more local customers.