

You built a website for your small business. Traffic is coming in. But do you actually know which visitors are taking action, filling out your contact form, clicking your phone number, or completing a purchase? Without a proper GA4 conversion tracking setup, you’re flying blind, making decisions based on guesses instead of real user behavior.
Google Analytics 4 handles conversions differently than the old Universal Analytics. What used to be called "goals" and "conversions" are now key events, and the way you create and configure them has changed significantly. If you haven’t set this up yet, or you’re still confused by GA4’s interface, you’re not alone. Most small business owners we work with at Avatar Website Design run into this exact issue.
This guide walks you through the entire process, step by step. You’ll learn how to create events in GA4, mark them as key events, and verify that everything is tracking correctly. By the end, you’ll have conversion data you can actually use to understand what’s working on your site and what isn’t.
What you need before you start
Before you touch a single setting in GA4, make sure your foundation is in place. Jumping into conversion configuration without the right setup leads to broken tracking, missing data, or hours of troubleshooting. Spending five minutes on this checklist now will save you real headaches later.
A working GA4 property with your tag installed
Your GA4 property must already exist and be actively collecting data from your website. If you haven’t created one yet, go to Google Analytics and set up a new GA4 property. Once created, you’ll get a Measurement ID (it looks like G-XXXXXXXXXX). That ID needs to be embedded in your website’s code, either directly in the <head> tag or through Google Tag Manager.
If GA4 isn’t receiving any data yet, no conversion tracking will work, regardless of how correctly you configure it.
You can confirm your tag is firing by opening your website, then checking Reports > Realtime inside GA4. If you see at least one active user (yourself), your tag is working correctly.
Admin-level access to your GA4 property
You need Editor access or higher to create events and mark them as key events. Viewer-level access won’t let you make any changes to the property. To check your current role, go to Admin > Property Access Management inside GA4. If someone else manages your account, ask them to either grant you Editor access or walk through these steps together with you.
Having a clear picture of what actions matter on your site before you start also speeds up the entire ga4 conversion tracking setup process considerably. Think about what a successful visit looks like for your business: a contact form submission, a phone number click, a product purchase, or a landing on a thank-you page. Write those actions down now. You’ll use that list in Step 1.
Step 1. Define your conversions and event names
Before you create anything in GA4, you need a clear list of the actions you want to track and the exact event names you’ll assign to each one. GA4 uses event names as identifiers, so picking the right names now keeps your ga4 conversion tracking setup clean and consistent from the start.
Event names in GA4 are case-sensitive, so "Contact_Form" and "contact_form" are treated as two completely different events, which creates duplicate data in your reports.
Choose actions that reflect real business value
Think about what a successful visit looks like on your site. For most small businesses, the highest-value actions are form submissions, phone number clicks, and purchase completions. Pick two to five actions to start with; tracking too many events at once makes your reports harder to read and act on.
Follow GA4 event naming rules
GA4 event names must be lowercase and use underscores instead of spaces. They cannot contain spaces or special characters. Your event names need to stay consistent across every tool that sends data to GA4, whether that’s your website code or Google Tag Manager. Here are examples that follow the correct format:
| Action | Correct Event Name |
|---|---|
| Contact form submitted | contact_form_submit |
| Phone number clicked | phone_click |
| Thank-you page viewed | thank_you_page_view |
| Purchase completed | purchase |
Step 2. Create or capture the event in GA4
GA4 gives you two ways to get an event into your property: use an event GA4 already collects automatically, or build a new one yourself using the built-in event creation tool. Which path you take depends on what you’re tracking and how your website is set up.
Use an automatically collected or recommended event
GA4 automatically tracks certain events without any extra configuration, including page_view, session_start, and first_visit. If your conversion is a thank-you page load after a form submission, you can skip manual event creation entirely. Just verify the event appears under Reports > Realtime by completing the action yourself on your website.
If you already see the event firing in the Realtime report, move directly to Step 3 without creating a duplicate.
Create a custom event inside GA4
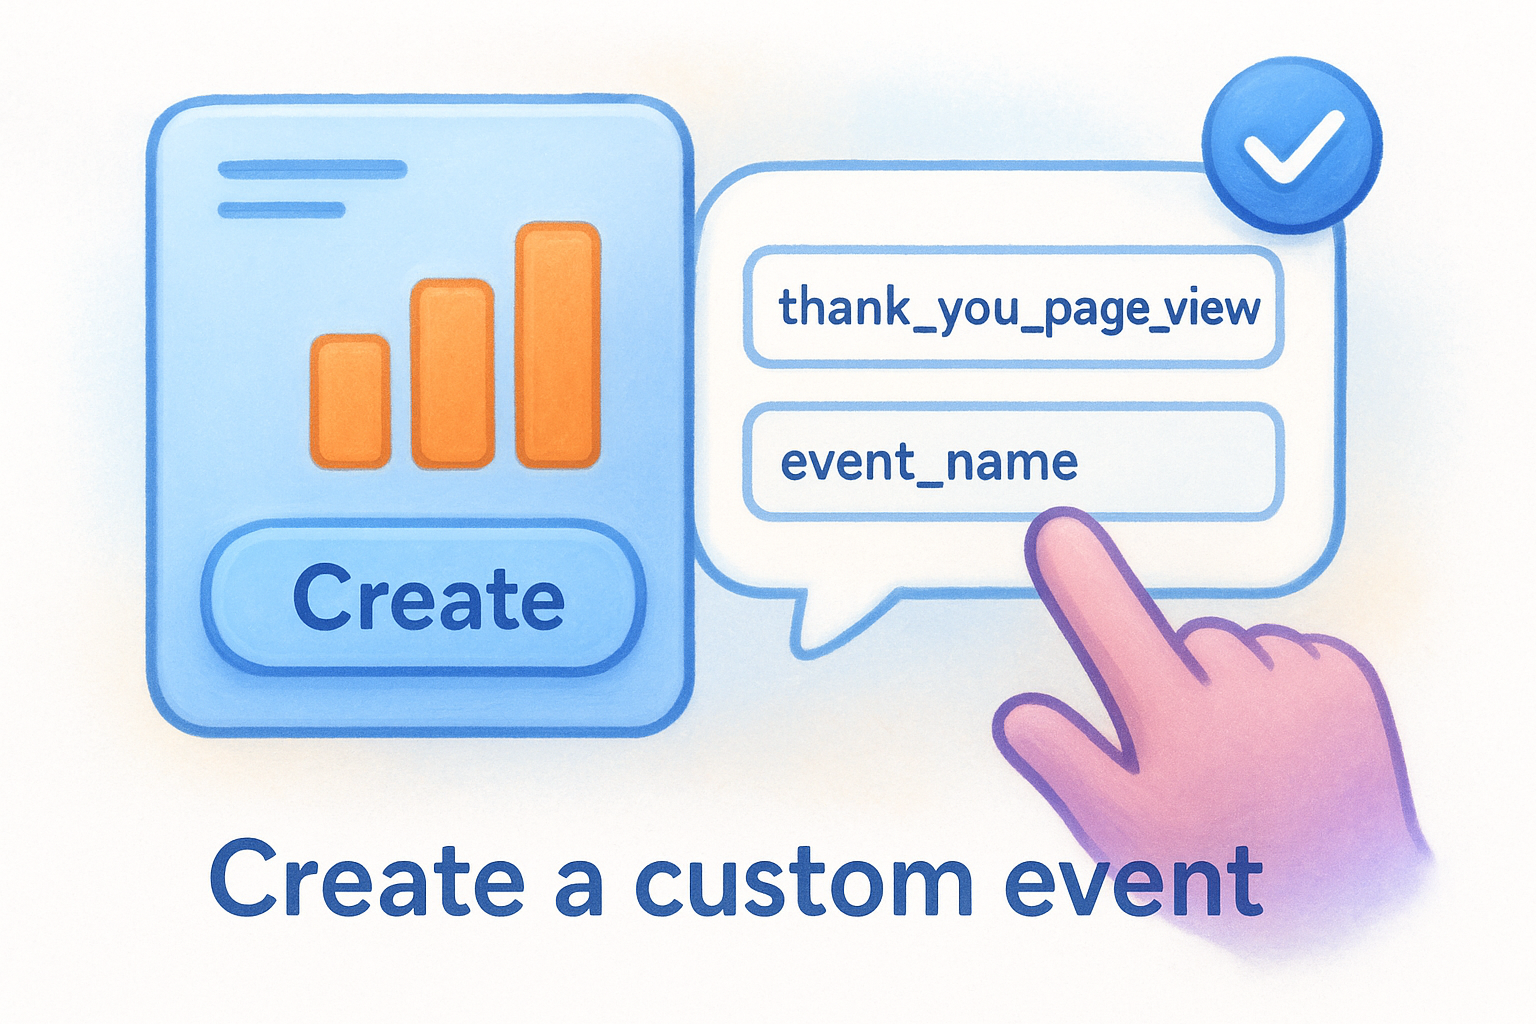
When no existing event covers your conversion, go to Admin > Events > Create event. Click "Create," then name your new event using the naming convention from Step 1. Set the matching condition to trigger based on an existing event. For example, to fire thank_you_page_view when someone lands on /thank-you, set the condition to event_name equals page_view and add a second condition where page_location contains /thank-you. This ga4 conversion tracking setup approach requires no code changes to your site.
Step 3. Mark the event as a key event
Once your event is firing correctly in GA4, marking it as a key event takes under a minute. This step connects your raw event data to conversion reporting across your GA4 property, including your Acquisition and Engagement reports.
Find the event in your events list
Go to Admin > Events inside your GA4 property. You’ll see a table listing every event GA4 has recorded. Find the event name you created or confirmed in Step 2. If the event hasn’t fired yet, it won’t appear in this list until GA4 records at least one instance of it.
Trigger the event yourself by completing the action on your website, then wait up to 24 hours for it to appear in the Events table.
Toggle the key event switch
After locating your event in the table, flip the "Mark as key event" toggle on the right side of the row to the on position. Your ga4 conversion tracking setup will now count every future instance of that event as a key event across your reports.
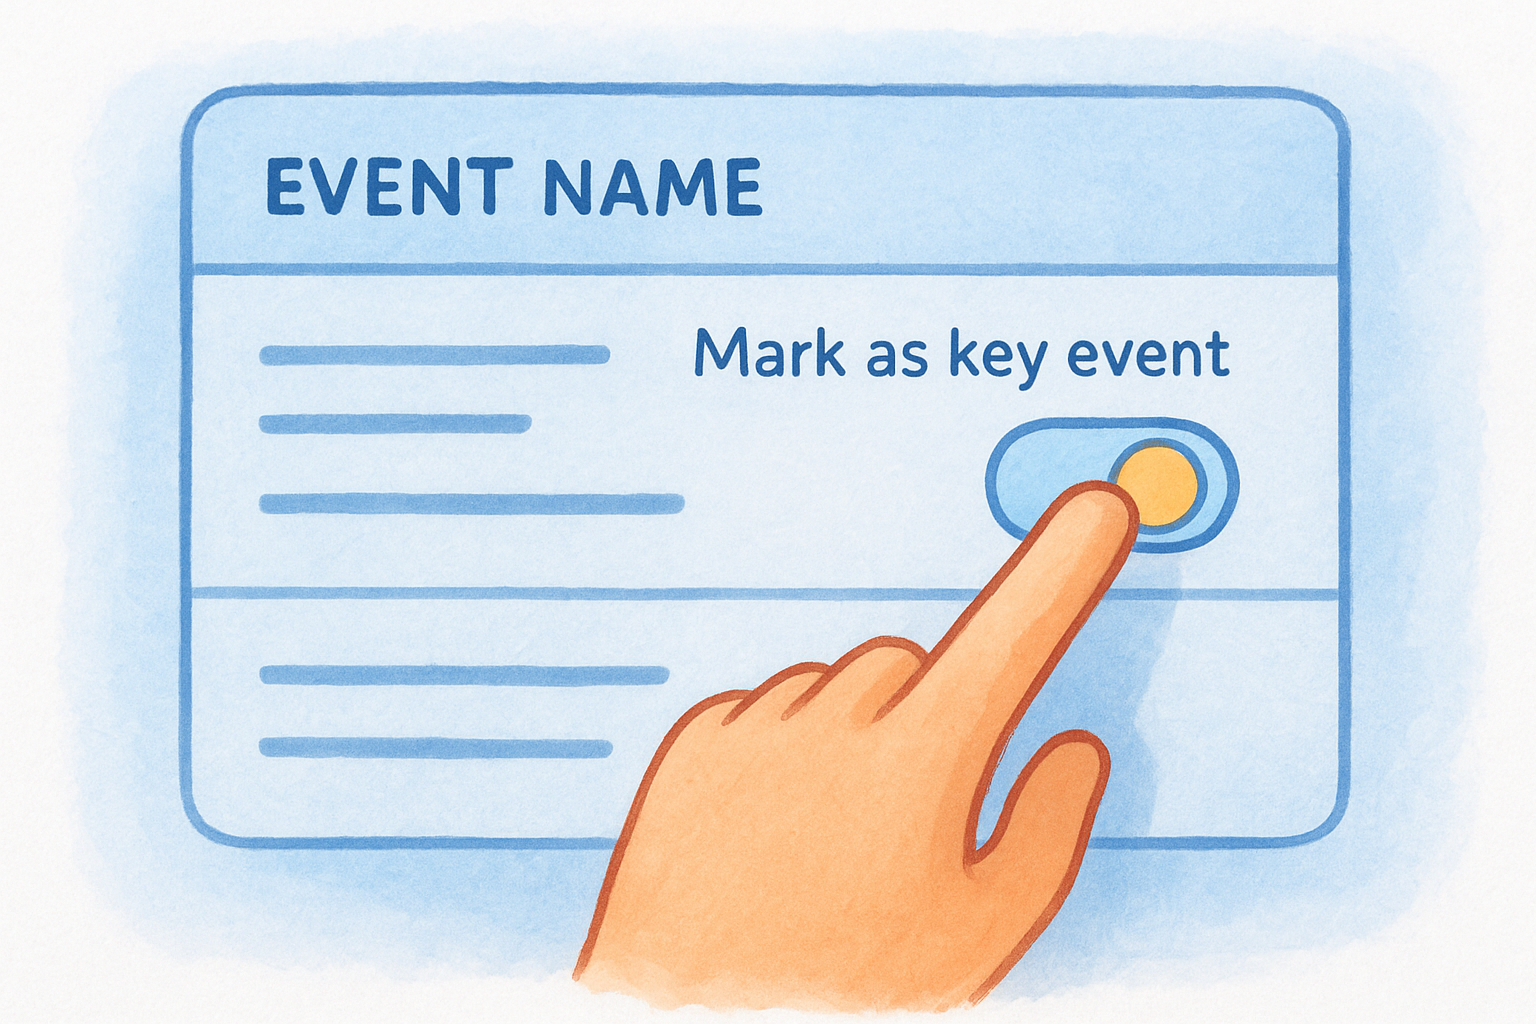
Flipping that toggle affects several places in GA4 at once. Here’s where your key event data will appear:
- Reports > Acquisition: shows which traffic sources drive key events
- Reports > Engagement > Conversions: lists all key events and their counts
- Explorations: available as a metric when you build custom reports
Step 4. Verify, report, and fix common issues
After marking your event as a key event, you need to confirm the data is actually flowing into your reports before you rely on it for any business decisions. Skipping this step means you could spend weeks looking at incomplete or broken conversion data without realizing it. Your ga4 conversion tracking setup is only as reliable as the verification you complete right now.
Check your data in Realtime and reports
Open Reports > Realtime and complete the conversion action yourself on your live website. Your event name should appear in the Realtime report within seconds. Then wait up to 24 hours and check Reports > Engagement > Conversions to confirm the key event is listed there with at least one recorded instance.
GA4 can take up to 24 hours to show new key events in standard reports, so don’t panic if the Conversions report looks empty right after you flip the toggle.
Fix the most common tracking problems
When your key event isn’t showing up, the cause is almost always one of a small set of specific issues. Work through this checklist before you change any settings:
| Problem | Fix |
|---|---|
| Event not in Events table | Trigger the action yourself; wait 24 hours |
| Wrong page_location condition | Check the exact URL path in your browser’s address bar |
| Duplicate events firing | Review tag firing rules in Google Tag Manager |
| Key event toggle greyed out | Confirm you have Editor-level access in Admin |
Wrap-up and what to do next
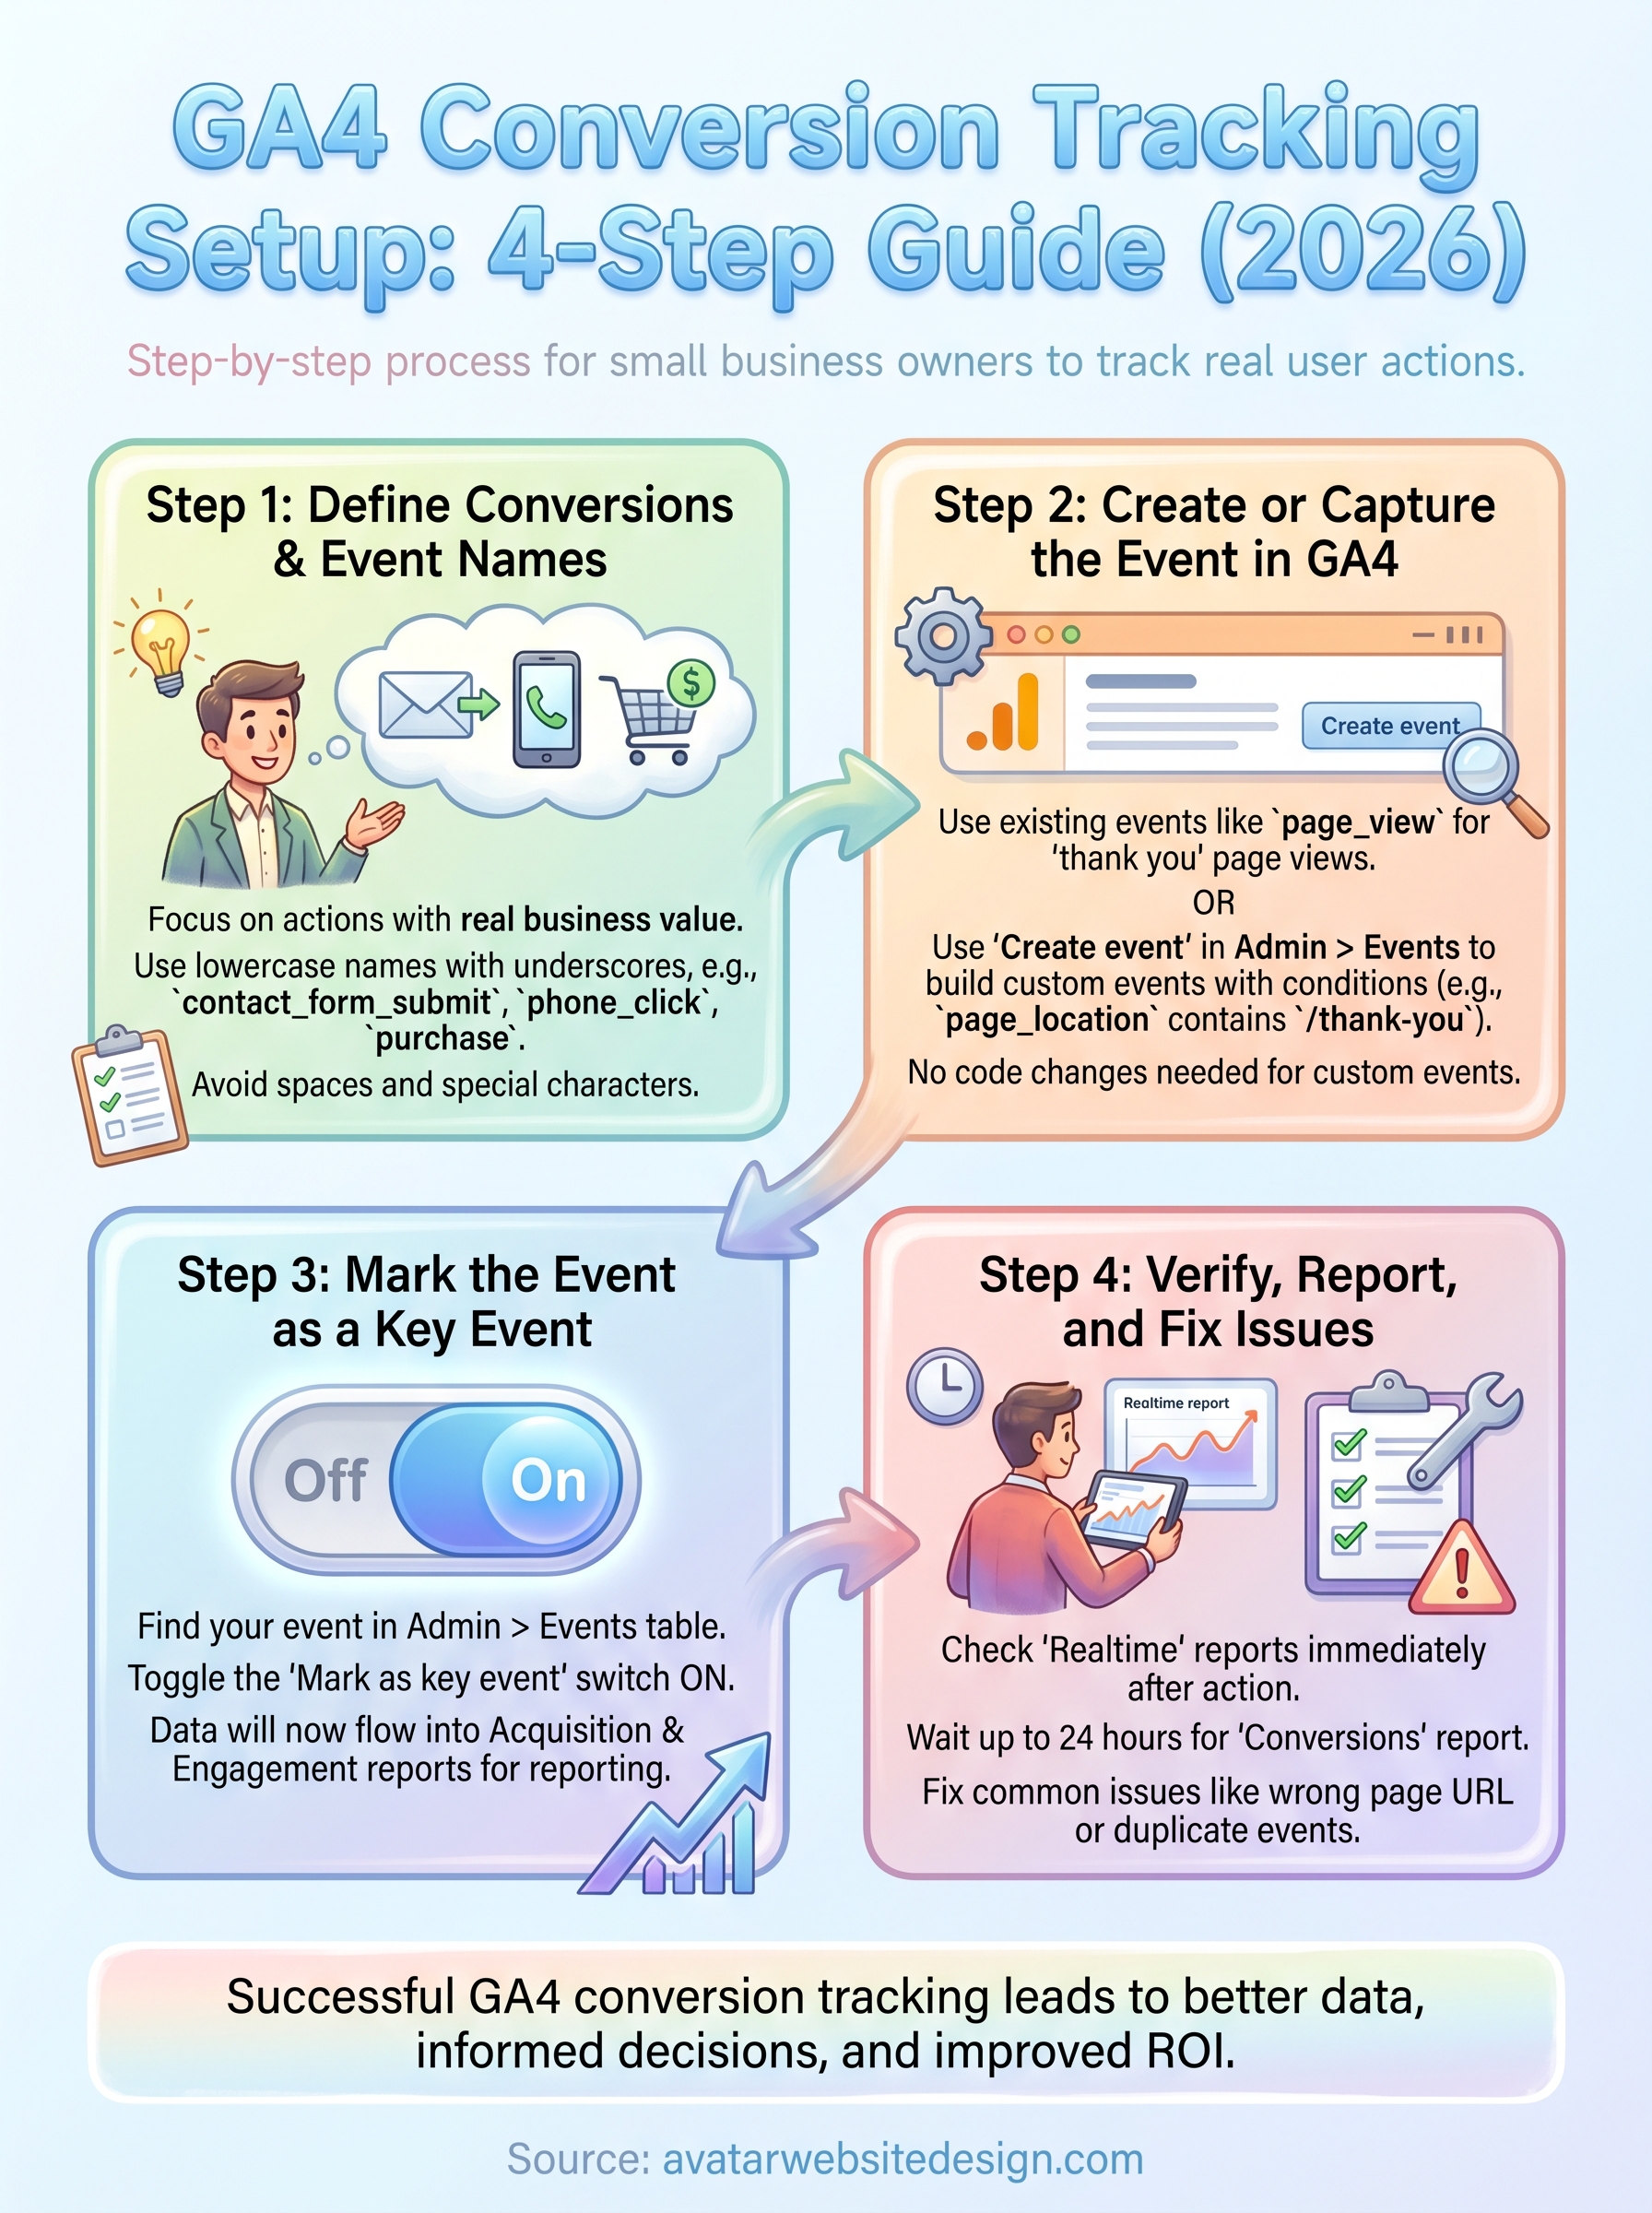
You now have everything you need to complete a ga4 conversion tracking setup that actually reflects real business activity on your site. You defined your conversions, created or captured your events, marked them as key events, and verified the data is flowing into your reports correctly. That’s the full cycle, from planning through confirmation.
From here, check your Conversions report once a week and look for patterns. Which traffic sources drive the most key events? Which pages lead to the highest completion rates? Those answers tell you where to focus your energy and where to stop spending on channels that aren’t driving results.
If your website itself isn’t built to convert visitors in the first place, even perfect tracking data won’t help much. Avatar Website Design builds mobile-ready, SEO-optimized small business websites designed to turn visits into real actions. Get a website that works and gives your conversion tracking something worth measuring from day one.